
The grilled cheese sandwich traces its roots to American diners of the early 20th century, where a simple combination of bread and melted cheese became a staple for workers on short breaks. Over time, the roll‑up variation emerged as a playful twist, offering bite‑size convenience while preserving the classic buttery crunch and gooey interior that made the original so beloved.
Why You'll Love It
-
- Minimal ingredients, maximum flavor
-
- Ready in under ten minutes
-
- Perfect for kids and adults alike
-
- Easy to customize with herbs or spices
"These roll ups are the perfect mix of crunch and melt—my kids can’t get enough!"
Essential Ingredient Guide
- Bread (soft sandwich loaf): Choose a fresh, slightly soft loaf; trim the crusts for a smooth roll‑up experience.
- Cheddar cheese (or your favorite melt): A sharp cheddar adds depth; slice thin so it melts evenly without soggy spots.
- Butter (softened): Butter creates that golden crust; room temperature makes spreading effortless.
- Seasonings (garlic powder, parsley): A pinch of garlic powder and dried parsley brightens the flavor without overpowering.
- Lemon zest (optional): A tiny zest of lemon lifts the richness with a subtle bright note.
- Honey drizzle (optional): A drizzle adds a whisper of sweetness that pairs with the salty cheese.
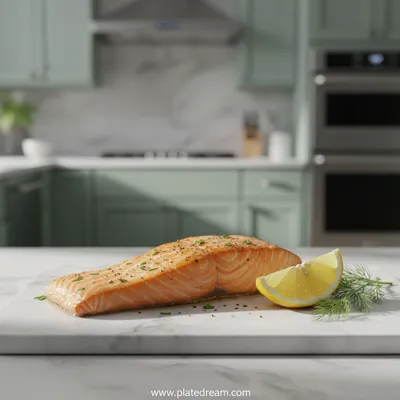 Air Fryer Recipes
Air Fryer Salmon – Quick, Healthy Dinner
A simple, flavorful salmon cooked to perfection in an air fryer—ready in under 20 minutes.
Complete Cooking Process
-
Ingredient Readiness:
Trim the loaf, slice the cheese, and soften the butter so everything is ready to go without fuss.
-
Flavor Development:
Butter the bread, sprinkle seasonings, then roll tightly to let the cheese begin to melt as it heats.
-
Texture Control:
Cook each roll on medium heat, turning gently to achieve a crisp golden exterior while keeping the interior tender.
-
Finishing Touches:
Add a quick drizzle of honey or a sprinkle of fresh herbs just before serving for an extra layer of aroma.
-
Serving Timing:
Serve hot, straight from the pan, while the cheese is still stretchy and the crust is warm.
-
Pat the buttered bread gently to avoid tearing.
-
Use medium heat; too hot will burn the crust before cheese melts.
-
Press the rolls lightly with a spatula for even browning.
Pro Tips
I’ve found that letting the roll ups rest for a minute after cooking lets the cheese settle, making each bite melt in your mouth. It also gives the butter a chance to firm up just enough so the crust stays crisp when you pick it up. So, a short pause really makes a difference.

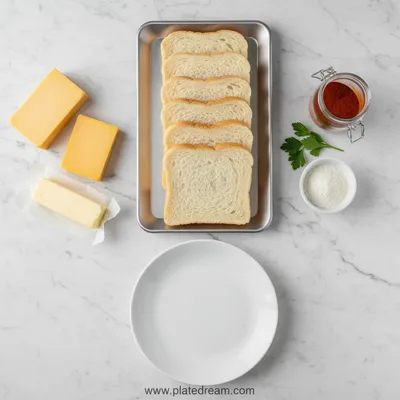
The essence of the dish:
Crisp butter‑kissed bread wrapped around molten cheese—each bite delivers a comforting contrast of crunch and stretch.
A fun fact or historical angle:
During the Great Depression, grilled cheese became a budget‑friendly meal; the roll‑up version later appeared in school cafeterias to make serving easier.
Flavor or sensory focus:
You’ll notice the nutty aroma of toasted butter, the sharp snap of cheddar, and a faint whisper of garlic that lingers on the palate.
You Must Know
-
Use day‑old bread for better rollability
-
Don’t overcrowd the pan
-
Flip once for even browning
Frequently Asked Questions
→ Can I use gluten‑free bread?
Yes, substitute with a sturdy gluten‑free loaf; just be mindful it may crumble more easily, so handle gently.
→ What cheese works best?
Sharp cheddar is classic, but mozzarella, gouda, or pepper jack all melt beautifully.
→ Can I make these ahead of time?
Prepare the rolls, butter them, and store covered in the fridge. Cook them when you’re ready for that fresh crisp.
→ Do I need a panini press?
No, a regular skillet works fine; just press gently with a spatula for the same effect.
→ How do I keep them from getting soggy?
Make sure the bread is dry and the butter is fully melted before adding the cheese; avoid covering the pan too long.
→ Can I add extra fillings?
Sure—thin slices of ham, tomato, or even a sprinkle of caramelized onions add wonderful depth.
Nutrition Facts
per serving
420
Calories
18g
Protein
30g
Carbs
24g
Fat
Taste Profile
Rich buttery flavor with a mellow cheesy finish
Ingredient Substitutions
Don't have an ingredient? Try these alternatives
Choose a cheese that melts well; adjust cooking time slightly if using a milder cheese.
Will reduce the buttery flavor but still give crispness; use a light hand.
Recipe Variations
Try these delicious twists on the original
Spicy Version
Add a pinch of red pepper flakes and a drizzle of sriracha for a subtle kick.
Mediterranean Style
Mix feta crumbs with the cheddar and sprinkle olives and sun‑dried tomatoes before rolling.
Common Mistakes to Avoid
Learn from others' mistakes for perfect results
- Using cold butter, which can cause uneven browning.
- Cooking on too high heat, burning the crust before cheese melts.
- Overfilling the rolls, leading to cheese oozing out.
Meal Prep & Storage
Make Ahead Tips
You can butter and assemble the rolls, then wrap them tightly in plastic wrap and refrigerate for up to 12 hours before cooking.
Leftover Ideas
Reheat gently in a skillet over low heat, covering the pan briefly to melt the cheese without drying out the bread.
Perfect Pairings
Serve this with...
Cooking Timeline
Prepare bread, butter, and seasonings; have cheese shredded and ready.
Assemble and roll the cheese‑filled bread slices.
Cook roll ups in skillet, turning once for even golden color.
Optional drizzle of honey and a pinch of lemon zest; let rest briefly.
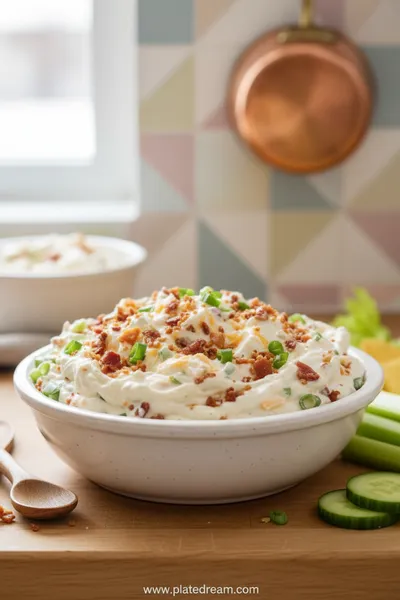 Comfort Food Classics
High Protein Crack Dip
Creamy, protein‑packed dip for crackers and veggies, ready in minutes.
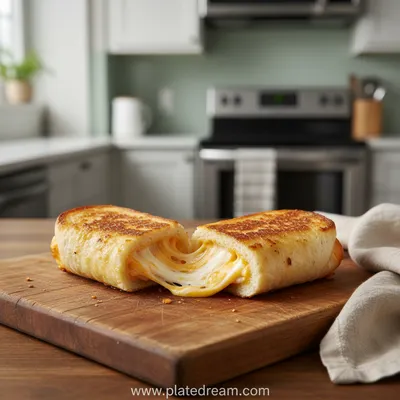
Grilled Cheese Roll Ups – Easy Snack or Lunch
Try these quick grilled cheese roll ups—crispy, cheesy bites perfect for a snack or a fast lunch. Ready in minutes!
Timing
Prep Time
10 Minutes
Cook Time
8 Minutes
Total Time
18 Minutes
Recipe Details
Ingredients
Main Ingredients
-
01
8 slices of soft sandwich bread (trimmed)
-
02
1 cup shredded sharp cheddar cheese
-
03
4 tbsp softened butter
-
04
1/2 tsp garlic powder
-
05
1 tbsp fresh parsley, chopped (optional)
-
06
Pinch of lemon zest (optional)
-
07
Honey for drizzling (optional)
Instructions
Lay out the bread slices, trim the crusts, and spread a thin layer of softened butter on each side.
Sprinkle garlic powder and parsley over the buttered surface, then place a generous handful of cheddar in the center of each slice.
Roll each slice tightly, seam side down, and press gently to seal.
Heat a skillet over medium heat; place the rolls, cooking 2‑3 minutes per side until golden brown and cheese is melted.
If desired, drizzle a tiny bit of honey and add a sprinkle of lemon zest before serving.
Notes & Tips
-
1
For extra crispness, let the butter melt fully before adding the rolls.
-
2
Keep the heat moderate; high heat can burn the butter before the cheese melts.
-
3
Feel free to add a pinch of smoked paprika for a subtle smoky note.
Tools You'll Need
-
Skillet
-
Cutting board
-
Butter knife
-
Spatula
-
Measuring spoons
Must-Know Tips
-
Don’t overcrowd the pan, Cook in batches for even browning.
-
Let the rolls rest a minute after cooking, Allows cheese to set.
-
Taste as you go, Adjust seasoning with a pinch of salt if needed.
Professional Secrets
-
Room temperature butter, Ensures even coating and golden crust.
-
Medium heat for searing, Creates the perfect buttery crunch.
-
Press gently with a spatula, Captures melt without breaking the roll.

Recipe by
Hannah ParkerFood creator focused on practical meals that fit into modern, fast-paced lifestyles.
Get Delicious Recipes Weekly
Join 25,000+ home cooks getting our best recipes straight to their inbox.
Free forever • No spam • Unsubscribe anytime