
The classic s'more dates back to the early 20th century, originating as a simple campfire treat of graham cracker, chocolate, and roasted marshmallow. Over time, bakers have transformed it into portable, bake‑ready bars that capture the same sweet, smoky flavor without the fire. This evolution makes the treat accessible year‑round, whether you’re in a kitchen or a campsite.
Why You'll Love It
-
- Soft, chewy center with a slightly crisp edge
-
- No need for a grill; bake at home
-
- Perfect balance of chocolate, graham, and marshmallow
-
- Easy to portion and share
"These bars taste just like a campfire, but you can enjoy them any night of the week!"
Essential Ingredient Guide
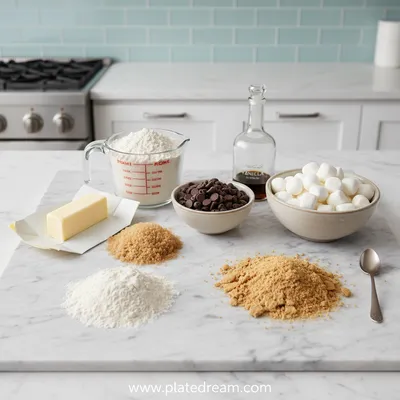
- Graham cracker crumbs: Provides a buttery, slightly sweet base; toast lightly for extra depth
- Semi‑sweet chocolate chips: Melted into the batter for gooey pockets; choose good quality for richer taste
- Mini marshmallows: Adds the classic toasted sweetness; you can use the marshmallow dip recipe for extra fluff
- Unsalted butter: Gives the bar a tender crumb and rich mouthfeel
- Brown sugar: Adds caramel notes and helps the bars stay moist
- Vanilla extract: A dash of vanilla lifts the overall flavor profile
 Desserts & Sweet Treats
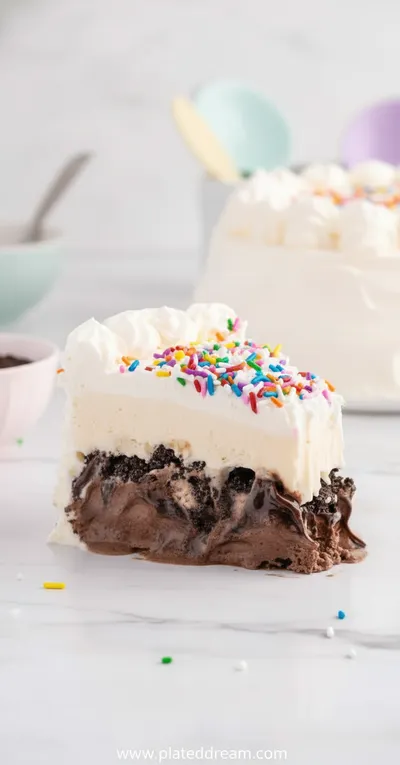
Copycat Dairy Queen Ice Cream Cake – Birthday Treat
Homemade copycat Dairy Queen ice cream cake – rich, creamy, and birthday‑ready.
Complete Cooking Process
-
Ingredient Readiness:
Measure and sift dry ingredients, melt chocolate gently, and have the marshmallows ready to sprinkle.
-
Flavor Development:
Mix butter and sugars until creamy, fold in crumbs and chocolate, allowing the butter to coat each crumb.
-
Texture Control:
Spread the batter evenly, then press marshmallows lightly into the top before baking.
-
Finishing Touches:
After baking, let the bars cool slightly, then drizzle extra melted chocolate if desired.
-
Serving Timing:
Cut into squares while warm for a soft center, or let cool completely for firmer slices.
-
Use room‑temperature butter for even mixing
-
Don’t over‑bake; edges should be golden, center still soft
-
Add a pinch of sea salt for contrast
-
Store in an airtight container to keep them chewy
Pro Tips
Well, I’ve found that a short rest on a cooling rack lets the bars set just enough to hold their shape without drying out. So, let them breathe for a few minutes before you slice. It’s a small pause that makes a big difference, especially on a busy weekend when you want everything to turn out just right.
 Air Fryer Recipes
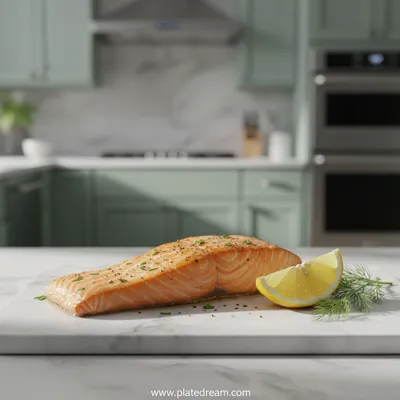
Air Fryer Salmon – Quick, Healthy Dinner
A simple, flavorful salmon cooked to perfection in an air fryer—ready in under 20 minutes.
The essence of the dish:
A buttery graham crust, pockets of melted chocolate, and fluffy marshmallow pieces create a layered sweet‑savory experience that feels like a campfire hug.
A fun fact or historical angle:
The original s'more was popularized by the Girl Scouts in the 1920s, becoming a staple of American camping culture.
Flavor or sensory focus:
You’ll notice the aroma of toasted marshmallow first, followed by creamy chocolate and a subtle crunch from the graham crust.
You Must Know
-
Do not over‑mix the batter
-
Watch the edges for a light golden hue
-
Cool slightly before cutting
Frequently Asked Questions
→ Can I use honey instead of brown sugar?
Yes, but reduce the liquid slightly; honey adds a floral note that pairs well with chocolate.
→ How long can I store the bars?
Keep them in an airtight container at room temperature for up to 5 days; they stay soft and flavorful.
→ Can I make them gluten‑free?
Swap the graham cracker crumbs for a gluten‑free oat or almond flour blend; the texture remains tender.
→ Do I need to toast the marshmallows first?
No, the heat of the oven lightly browns them, giving that toasted flavor without an extra step.
→ What if I want extra chocolate?
Fold in an extra ¼ cup of chocolate chips or drizzle a chocolate ganache after baking.
→ Can I freeze the finished bars?
Yes, wrap tightly and freeze for up to 2 months; thaw at room temperature before serving.
Nutrition Facts
per serving
210
Calories
3g
Protein
25g
Carbs
12g
Fat
Taste Profile
A sweet, buttery treat with chocolate depth and toasted marshmallow notes
Ingredient Substitutions
Don't have an ingredient? Try these alternatives
Provides a similar buttery texture; may need a touch more butter.
Adjust sweetness accordingly; dark chocolate adds a richer flavor.
Recipe Variations
Try these delicious twists on the original
Spicy Version
Add a pinch of cayenne pepper to the base and sprinkle a few chili flakes on top for a subtle heat.
Mediterranean Style
Mix in crumbled feta and toasted pine nuts with the graham crumbs for a savory twist.
Common Mistakes to Avoid
Learn from others' mistakes for perfect results
- Over‑mixing the base, which can make it tough.
- Baking too long; the bars become dry instead of chewy.
- Using too many marshmallows, causing them to melt into a soggy layer.
Meal Prep & Storage
Make Ahead Tips
You can prepare the base and refrigerate it for up to 24 hours before adding marshmallows and baking.
Leftover Ideas
Reheat gently in a preheated oven at 300°F for 5‑7 minutes to refresh the softness.
Perfect Pairings
Serve this with...
Cooking Timeline
Gather and measure all ingredients; preheat oven.
Mix base ingredients until combined; press half into pan.
Add chocolate chips, cover with remaining base, and press gently.
Scatter marshmallows on top, then bake.
Cool slightly, cut, and serve.

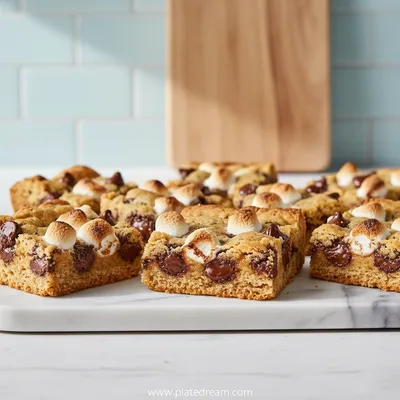
S'mores Cookie Bars – Chewy, Gooey Dessert
Indulge in the nostalgic scent of toasted marshmallows and melted chocolate with these sweet, buttery cookie bars . They’re quick to pull together, soft in the middle, and have a crisp edge that whispers of campfire evenings.
Timing
Prep Time
15 Minutes
Cook Time
20 Minutes
Total Time
35 Minutes
Recipe Details
Ingredients
Base & Chocolate
-
01
1 ½ cups graham cracker crumbs
-
02
½ cup unsalted butter, melted
-
03
¼ cup brown sugar
-
04
¼ cup granulated sugar
-
05
1 tsp vanilla extract
-
06
½ tsp salt
-
07
1 cup semi‑sweet chocolate chips
Topping
-
01
1 cup mini marshmallows
-
02
Optional: extra chocolate chips for drizzling
Instructions
Preheat the oven to 350°F (175°C) and line a 9×13‑inch pan with parchment.
In a bowl, combine graham crumbs, melted butter, brown sugar, granulated sugar, vanilla, and salt; stir until the mixture resembles wet sand.
Press half of the crumb mixture into the pan, then scatter chocolate chips evenly, and cover with the remaining crumb mixture, pressing lightly.
Evenly distribute mini marshmallows on top, then bake for 18‑20 minutes until the edges turn golden and marshmallows puff slightly.
Allow to cool in the pan for 10 minutes, then cut into squares; drizzle with extra melted chocolate if desired.
Notes & Tips
-
1
If you like a richer chocolate flavor, add a tablespoon of cocoa powder to the base.
-
2
For a toasted marshmallow edge, place the pan under the broiler for the last 2 minutes—watch closely.
-
3
Feel free to sprinkle a pinch of sea salt on top for a sweet‑salty contrast.
 Desserts & Sweet Treats
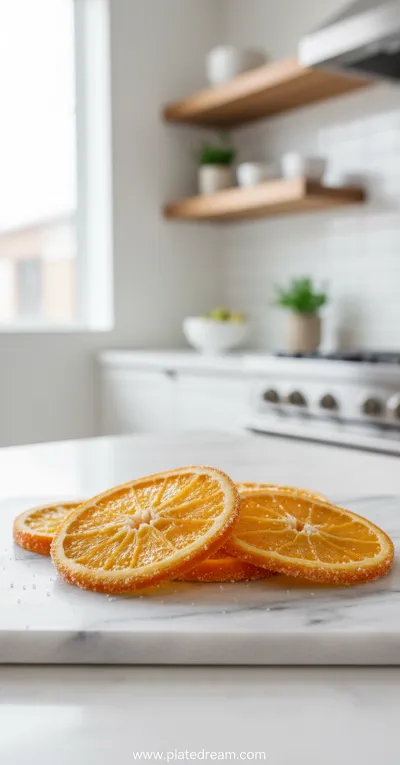
Candied Orange Slices
A simple, fragrant treat of candied orange slices—perfect for adding citrus sparkle to any sweet dish.
Tools You'll Need
-
9×13‑inch baking pan
-
Mixing bowl
-
Spatula
-
Measuring cups and spoons
-
Parchment paper
-
Cooling rack
Must-Know Tips
-
Don’t over‑mix the base; gentle folding keeps it tender.
-
Let the bars rest slightly before cutting for cleaner edges.
-
Use high‑quality chocolate for the best melt.
Professional Secrets
-
Room temperature butter ensures an even crumb.
-
A light brush of melted butter on top before baking adds shine.
-
Baking on the middle rack prevents uneven browning.

Recipe by
Isabella MartinBaking enthusiast crafting irresistible desserts designed to impress and satisfy every sweet tooth.
Get Delicious Recipes Weekly
Join 25,000+ home cooks getting our best recipes straight to their inbox.
Free forever • No spam • Unsubscribe anytime